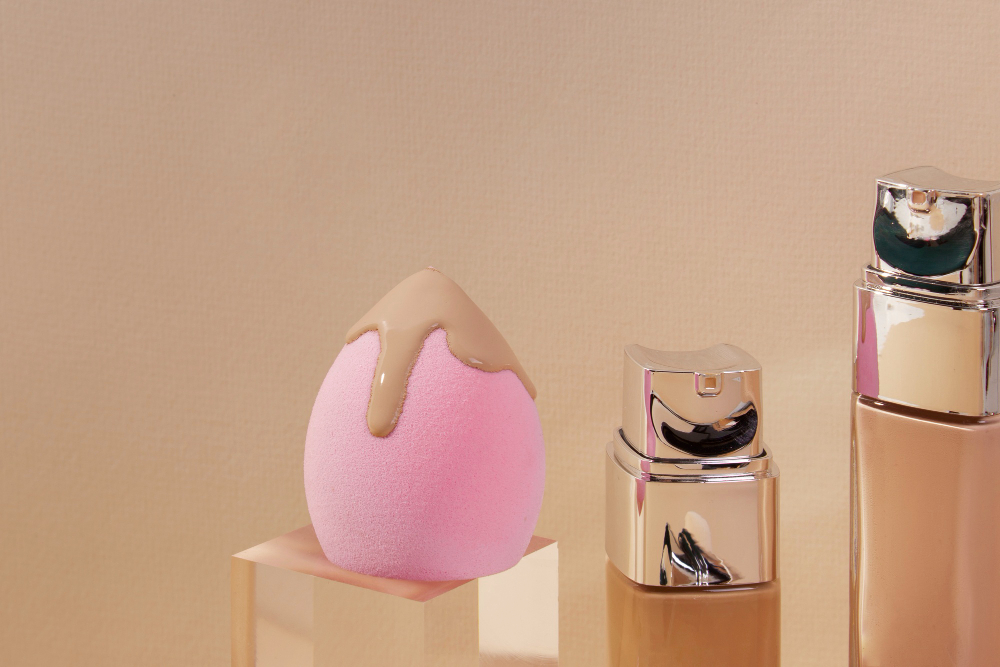
In the world of makeup application, the beauty blender has earned its status as a game-changer. This versatile sponge effortlessly blends foundation, concealer, and other makeup products, leaving behind a flawless finish. But to maintain its magic, proper cleaning is critical. Cleaning a beauty blender isn’t just about hygiene – it’s about preserving the sponge’s effectiveness and ensuring your makeup looks remain on point. Join us as we dive into cleaning a beauty blender like a pro, ensuring that your makeup routine remains flawless.
Understanding the Beauty Blender: A Makeup Must-Have
Before we delve into the intricacies of cleaning, let’s understand what makes the beauty blender so indispensable. The beauty blender is a teardrop-shaped makeup sponge made from a special material that expands when dampened. This unique texture allows it to blend makeup, seamlessly creating a natural, airbrushed effect. Whether you’re a makeup novice or a seasoned pro, the beauty blender is a tool that transforms your application technique.
The Importance of Regular Cleaning: Hygiene and Performance
Cleaning your beauty blender isn’t just a matter of maintaining hygiene – it’s also about preserving its performance. A dirty sponge can harbor bacteria, oil, and old makeup residue, leading to breakouts and skin irritation. Additionally, a makeup buildup can hinder the sponge’s ability to blend products effectively, resulting in uneven application and wasting precious makeup. Incorporating regular cleaning into your routine ensures that your beauty blender remains a reliable ally in your makeup journey.
What You’ll Need
- Before you embark on your beauty blender cleaning adventure, gather the essentials:
- Mild Soap or Cleanser: Opt for a gentle soap or cleanser suitable for sensitive skin. Steer clear of harsh detergents that can damage the sponge’s material.
- Warm Water: Warm water helps break down makeup residue and facilitate cleaning.
- A Clean Towel or Paper Towel: You’ll need a clean surface to squeeze out excess water and dry the beauty blender gently.
- Optional: Brush Cleansing Mat or Pad: A textured surface can aid in thoroughly cleaning the sponge’s crevices.
Elevate Your Beauty Blender’s Cleanliness
-
Wetting the Beauty Blender
Begin by wetting the beauty blender under running water. Hold it under the faucet, allowing the sponge to expand as it absorbs moisture. The dampened texture is essential for effective cleaning, as it prevents the sponge from absorbing too much soap or cleanser.
-
Applying Soap or Cleanser
Apply a small amount of mild soap or cleanser onto the beauty blender. You can apply the soap directly to the sponge or lather it before gently massaging it onto its surface. Focus on areas with heavy makeup buildup, such as the sponge’s bottom or tip.
-
Gently Massage and Squeezing
With soap applied, it’s time to massage and squeeze the beauty blender gently. Use your fingers to work the soap into the sponge’s material, ensuring it penetrates all the nooks and crannies. As you massage, you’ll notice the makeup residue starting to lift and dissolve.
-
Rinsing and Repeating
Under warm running water, rinse the beauty blender thoroughly, squeezing and releasing it repeatedly. Continue rinsing until the water runs clear and no soap residue remains. If the sponge still shows traces of makeup, repeat the cleaning process, using a bit more soap if necessary.
-
Squeezing Out Excess Water
Once the beauty blender is clean, gently squeeze out excess water. Use a pure or paper towel to blot the sponge and remove as much moisture as possible. Avoid wringing or twisting the sponge, which can damage its delicate structure.
-
Drying the Beauty Blender
Allow the beauty blender to air dry completely before using it again. Please place it in a well-ventilated area where it can maintain its shape and dry evenly. Avoid storing it in a closed container or makeup bag while damp, as this can create a breeding ground for bacteria.
-
Maintaining Regular Cleaning
To keep your beauty blender in prime condition, incorporate regular cleaning into your makeup routine. Depending on how often you use the sponge, aim to clean it at least once a week. If you’re using it daily, consider cleaning it every few uses. By making cleaning a habit, you ensure that your beauty blender continues to deliver flawless results without compromising your skin’s health.
A Monthly Ritual
In addition to regular cleaning, a deep clean is recommended to remove any stubborn makeup buildup and maintain the sponge’s effectiveness. To deep clean your beauty blender, follow the same steps as above, but allow the sponge to soak in a mixture of warm water and mild soap for about 10 to 15 minutes before gently massaging and rinsing. This monthly ritual helps to keep your beauty blender in top-notch condition.
Rescuing a Stained Beauty Blender
If your beauty blender has stubborn makeup stains that regular cleaning isn’t removing, don’t fret. There’s a solution! Mix equal parts of baking soda and water to create a paste. Gently massage this paste onto the stained areas of the beauty blender and let it sit for a few hours. Rinse thoroughly and watch those stains vanish.
Mastering the Art of Beauty Blender Care
The beauty blender’s magic lies not only in its blending prowess but also in its longevity. Proper cleaning and maintenance are the secrets to ensuring that your beauty blender continues to perform flawlessly. By incorporating regular cleaning and deep cleaning rituals into your makeup routine, you preserve the sponge’s hygiene and maintain its ability to create a seamless, airbrushed finish. So, the next time you reach for your beauty blender, remember that its flawless results result from its design and your dedicated care.
